
menu
menu
Menu
Ad Placements are “reserved” ad spaces defined by Site Admins to displays campaign generated ads. This tutorial demonstrate how ad placements are created and then be positioned on any pages using Layout Editor.
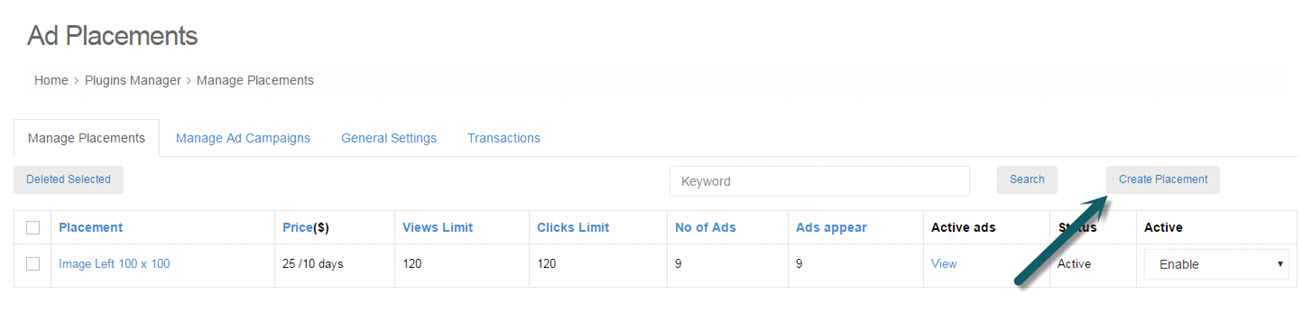
Step 1: Go to: Admin Dashboard -> Plugins Manager -> Ads -> Manage Placements.
Step 2: Click "Create Placement" button.
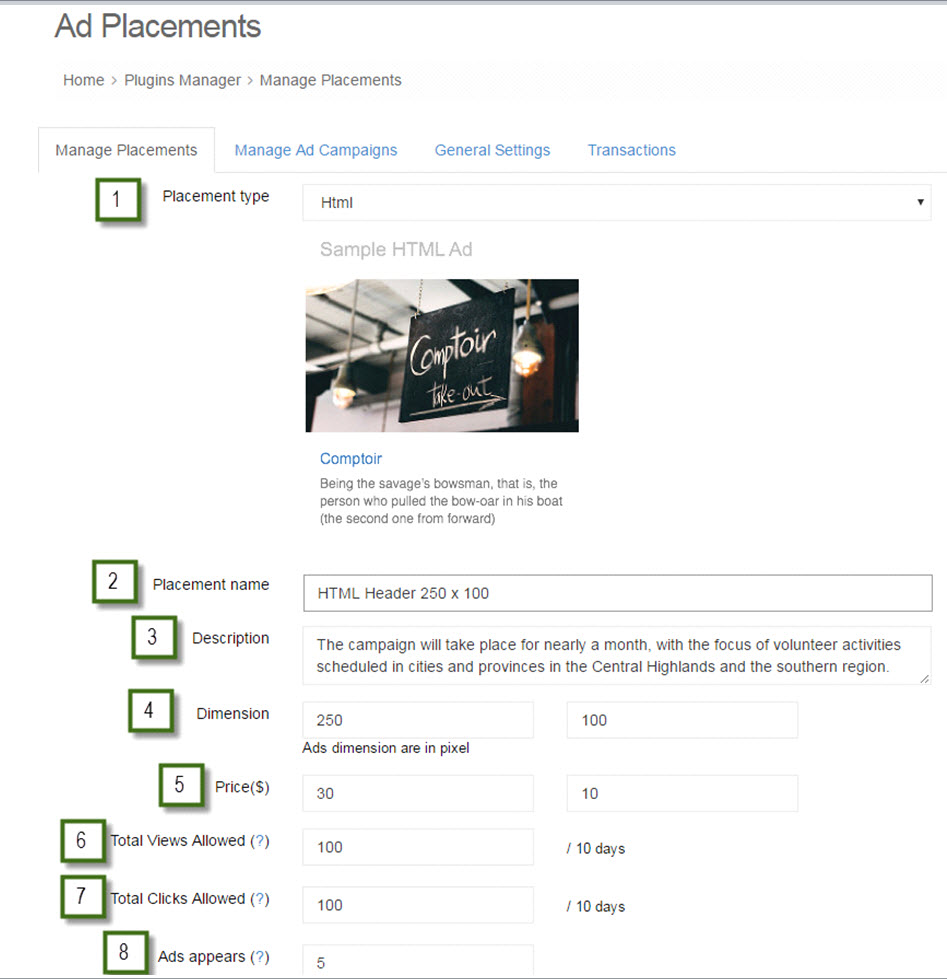
Step 3: Fill in all required fields
#1. Select Placement type: Html or Image.
#2. Enter Placement name
#3. Enter Description
#4. Enter Dimension: Width & Height
#5. Enter Price and Days
#6. Enter Total Views Allowed: Advertisements shown in this placement will end when this number of views is reached. Enter "0" for unlimited views.
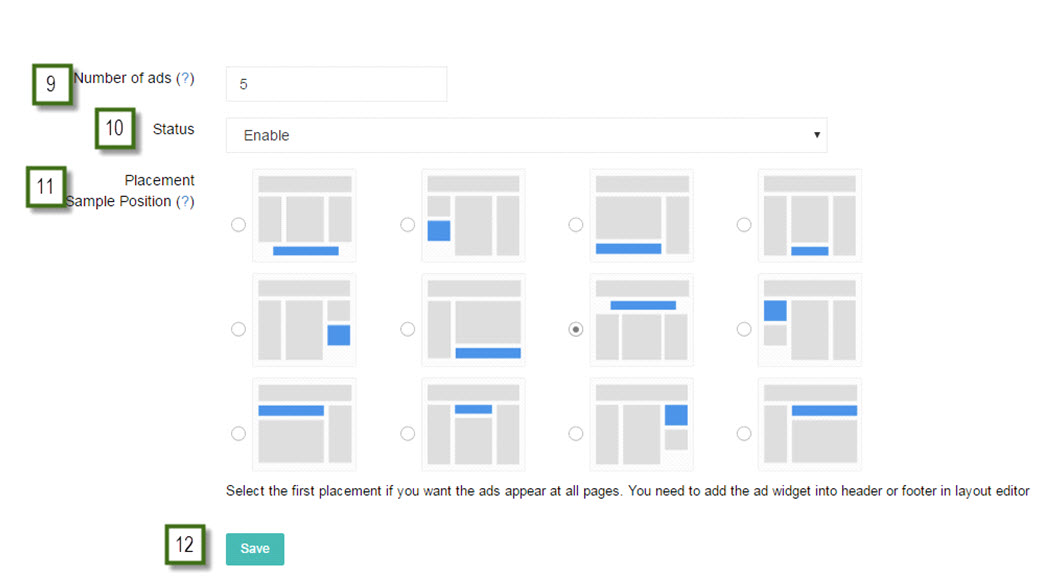
#7. Enter Total Clicks Allowed: Advertisements shown in this placement will end when this number of clicks is reached. Enter “0” for unlimited clicks.#8. Enter Ads appears: Maximum number of ads can be placed in this placement.#9. Enter Number of ads: Number of ads could appear at the same time in this placement.
#10. Enable/Disable this placement.
#11. Select sample position: This is just a preview “example” position where the placement would be in relative to different sectors of your site. It will be shown to users as an example when they chose this placement for their campaigns. To establish actual “reserved” ad spaces, You will need to drag and drop this placement in Layout Editor after it is created.
#12. Click "Save" button to create placement.
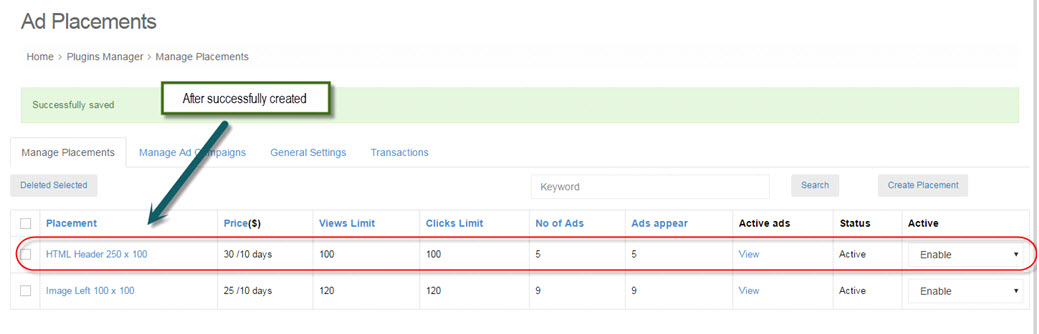
After successfully created:
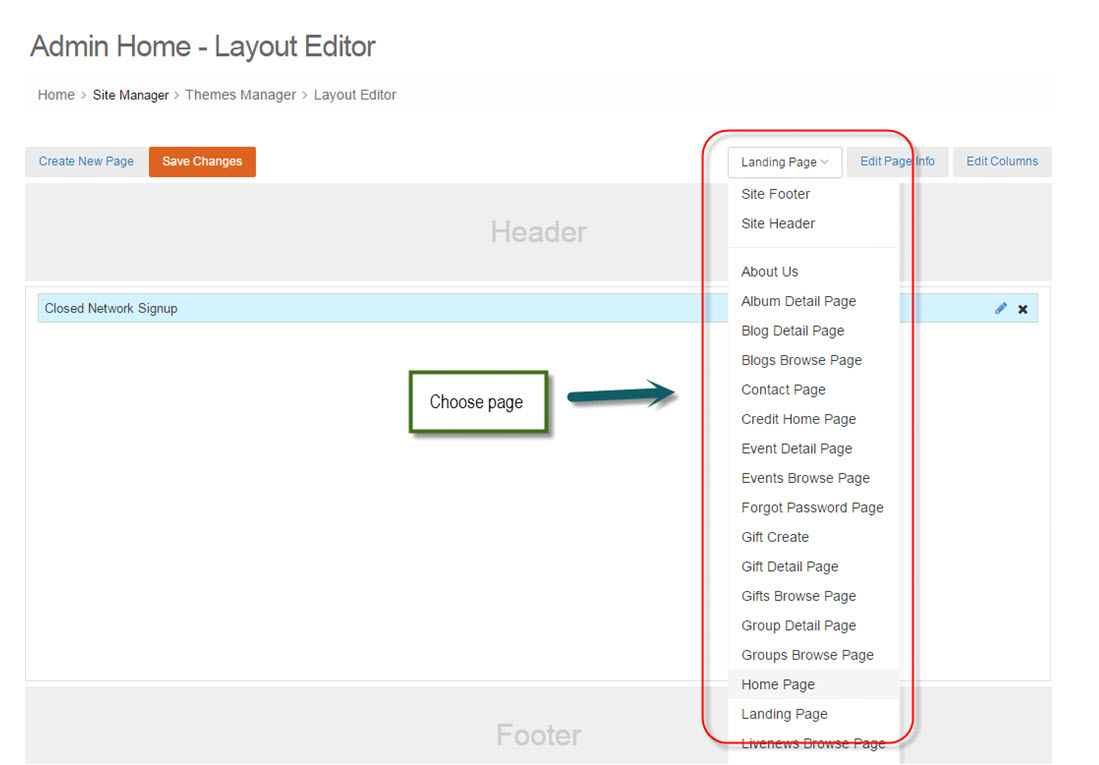
Step 4: Go to: Admin Dashboard -> Site Manager -> Themes Manager -> Layout Editor.
Step 5: Choose a page you would like to add a ad placement.
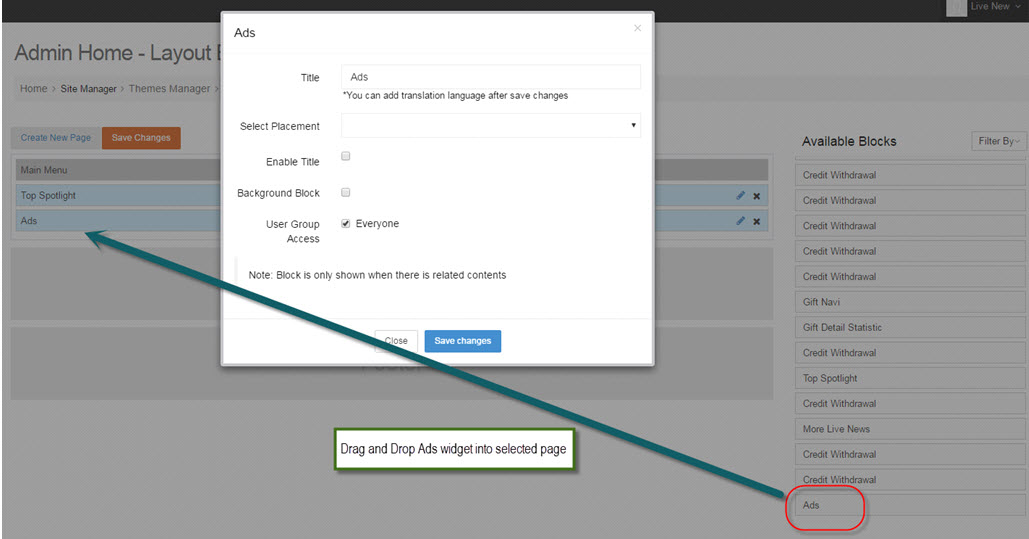
Step 6: Drag and Drop Ads widget into selected page.
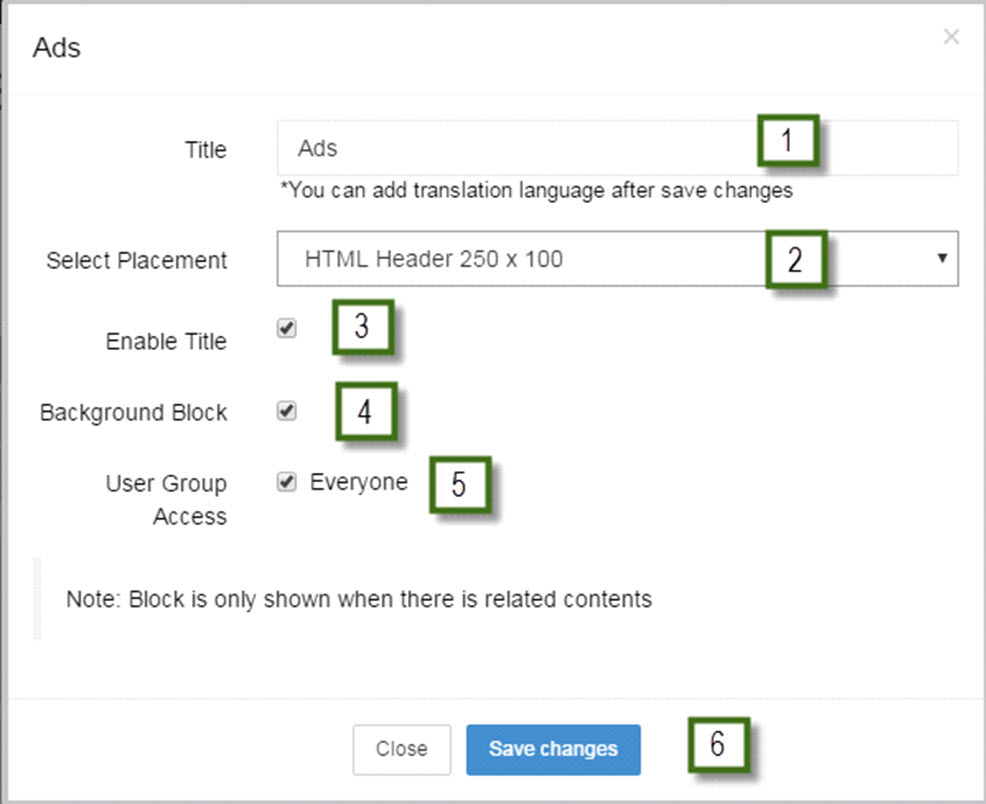
Step 7: Fill in all required fields on pop-up:
#1. Enter new title or use default name.
#2. Select placement.
#3. Enable/Disable title.
#4. Check/uncheck Background Block.
#5. Choose User Group Access
#6. - Click "Save changes" button
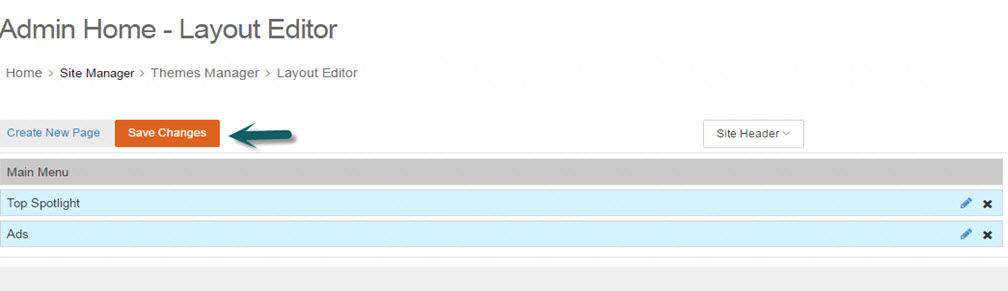
Step 8: Click "Save changes" to save changes.
To test, create a campaign with recent placement
- Method 1: Go to Admin Dashboard -> Plugins Manager -> Ads -> Manage Ad Campaigns, click "Create Campaign"
- Method 2: Create a campaign on front-end by going to a page with ad placement and click "See your ad here"

Enjoy it!